Introduction
Editing videos on the go has become more accessible with powerful mobile apps like Adobe Rush. However, knowing how to move media from your phone to Adobe Rush can enhance your editing workflow significantly. This guide provides clear and detailed steps to ensure your media transfer process is smooth and efficient. Whether you’re using Adobe Cloud Services, a direct USB transfer, or third-party cloud services, you’ll find everything you need here.
Preparing Your Media for Transfer
Before you start transferring media, ensure that your photos and videos are ready to go. Make sure to organize your files so you can locate them easily during the transfer process. Also, check for adequate storage space on both your phone and the destination device or cloud service.
- Organize Files: Categorize your media into folders based on project requirements.
- Check Storage Space: Ensure there’s enough storage on your chosen transfer medium.
- Select Media: Identify the specific files you need to transfer for your Adobe Rush project.
These steps will help minimize hiccups and make the transfer process straightforward.
Methods to Transfer Media
There are several methods to move media from your phone to Adobe Rush. Each method has its advantages, and the choice depends on your preferences and resources. Let’s cover three effective methods:
Using Adobe Cloud Services
Adobe Cloud Services provide a seamless way to transfer media files directly to Adobe Rush.
- Install Creative Cloud: Ensure the Creative Cloud app is installed on your phone.
- Upload Media: Open the app and upload the desired files to your Adobe Cloud storage.
- Sync with Rush: Once uploaded, these files will be available within Adobe Rush on any device connected to the same Adobe account.
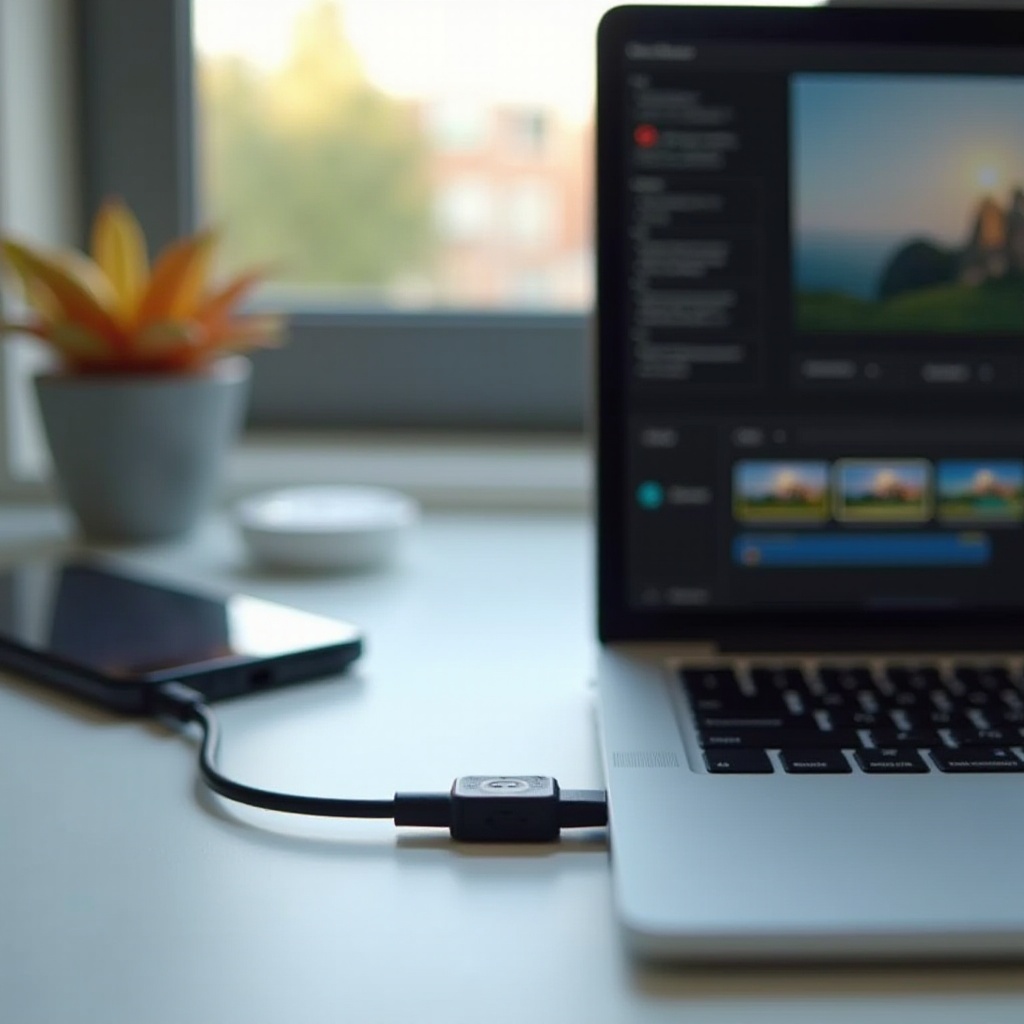
Direct Transfer Through USB
A traditional but effective method is transferring media directly via USB:
- Connect Phone to Computer: Use a USB cable to connect your phone to your computer.
- Enable File Transfer: On your phone, enable file transfer mode (usually available in the notifications).
- Copy Media Files: Locate your media files in your phone storage, then copy and paste them to your computer.
- Transfer to Adobe Rush: Open Adobe Rush and import the files from your computer’s local storage.
Using Third-Party Cloud Services
Third-party cloud services like Dropbox or Google Drive offer another reliable transfer method:
- Upload Media: Use the respective app to upload your media files to the cloud service.
- Access Cloud Storage: On your computer or any device with Adobe Rush, log in to the same cloud service.
- Download Files: Access and download the uploaded media files to local storage, making them accessible in Adobe Rush.
These methods ensure that you can transfer media whenever and wherever needed, depending on your available resources and preferences.

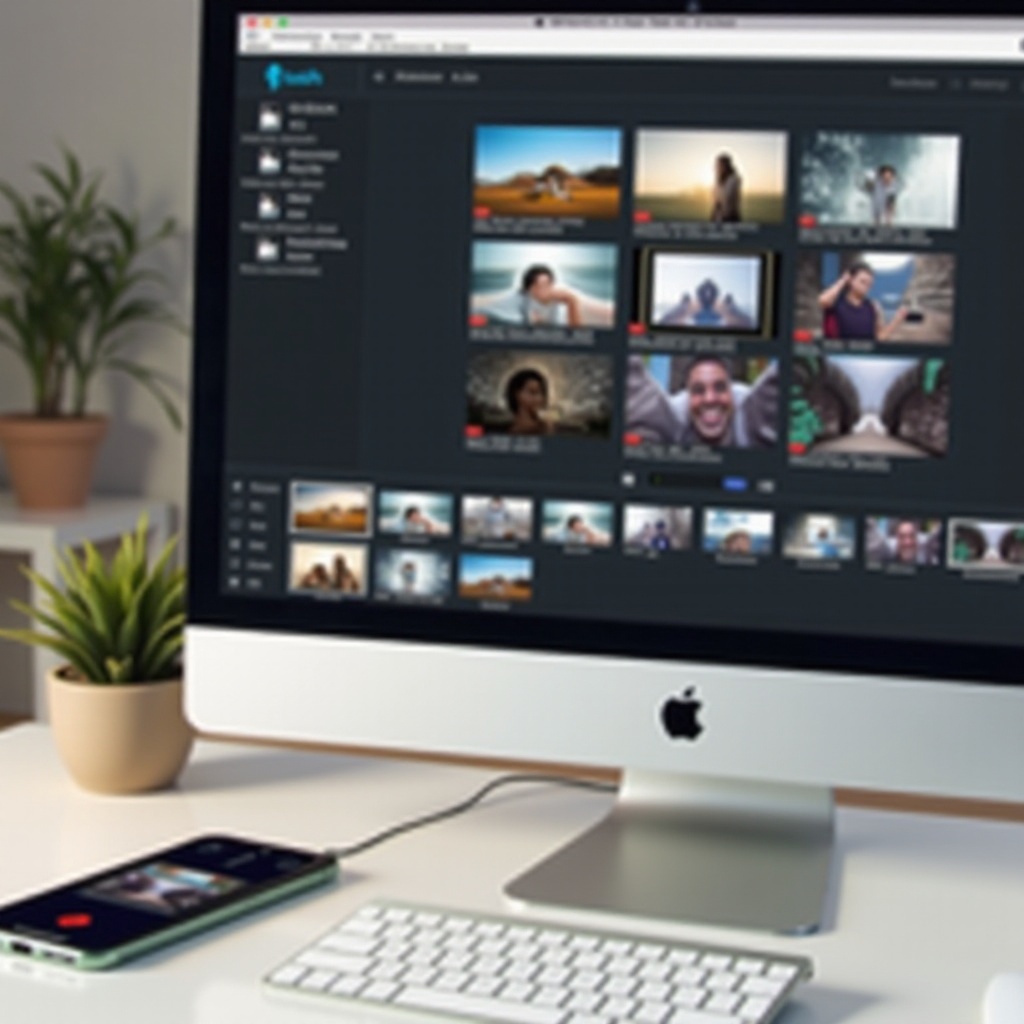
Importing Transferred Media in Adobe Rush
Once your media files are transferred, the next step is importing them into Adobe Rush. Here’s how to do it depending on the transfer method used:
Accessing Media from Adobe Cloud
- Open Adobe Rush: Launch the Adobe Rush app on your phone or computer.
- Cloud Media: Navigate to the ‘Add Media’ section and select files from the Adobe Creative Cloud.
Importing from Local Storage
- Open Adobe Rush: Ensure Adobe Rush is open on the device with the transferred files.
- Local Media: Click on the ‘Add Media’ button and navigate to the local folders where your files are stored.
Importing from Third-Party Services
- Open Adobe Rush: Launch the Adobe Rush application.
- Third-Party Services: Choose to add media from the respective third-party cloud service (e.g., Dropbox or Google Drive).
Following these steps will allow you to quickly incorporate your media into Adobe Rush and continue with your editing process.
Troubleshooting Common Issues
While transferring media can be straightforward, you might encounter some common issues. Here are solutions to a few frequent problems:
- File Not Recognized: Ensure the file format is supported by Adobe Rush.
- Incomplete Transfer: Check your internet connection or reattempt the transfer if using cloud services.
- Unavailable Files: Confirm that you’re logged into the correct Adobe or third-party account.
By resolving these issues, you can ensure a smooth workflow without unnecessary interruptions.
Conclusion
Transferring media from your phone to Adobe Rush can be easy and efficient if you follow the right steps. Whether using Adobe Cloud, a USB cable, or third-party services, each method has its benefits. Pay close attention to organizing your media and ensuring a stable transfer medium. Happy editing!
Frequently Asked Questions
Can I use mobile data to transfer files to Adobe Rush?
Yes, you can use mobile data to upload files to Adobe Cloud Services or third-party cloud services. Just be cautious of data caps and potential costs.
Why can’t I see my media files in Adobe Rush after transfer?
Ensure that you have transferred the files to the correct destination and are logged into the right account. Check the file format compatibility and refresh the media library in Adobe Rush.
How do I ensure video quality after transferring to Adobe Rush?
Use high-speed internet for transfers, opt for direct USB transfers for the fastest speeds, and make sure your original video quality is high before transfer.