Introduction
Imagine enhancing your Galaxy S24 with a unique, personalized e-ink phone case. This project is an exciting fusion of technology and creativity, offering the perfect opportunity to create a functional and aesthetically pleasing accessory. In this guide, we’ll walk you through the process, from gathering the necessary materials to designing, assembling, and programming your custom e-ink case. You’ll also learn tips and tricks for ensuring your final product works flawlessly. Ready to get started on this rewarding DIY project? Let’s dive in.
Materials Needed
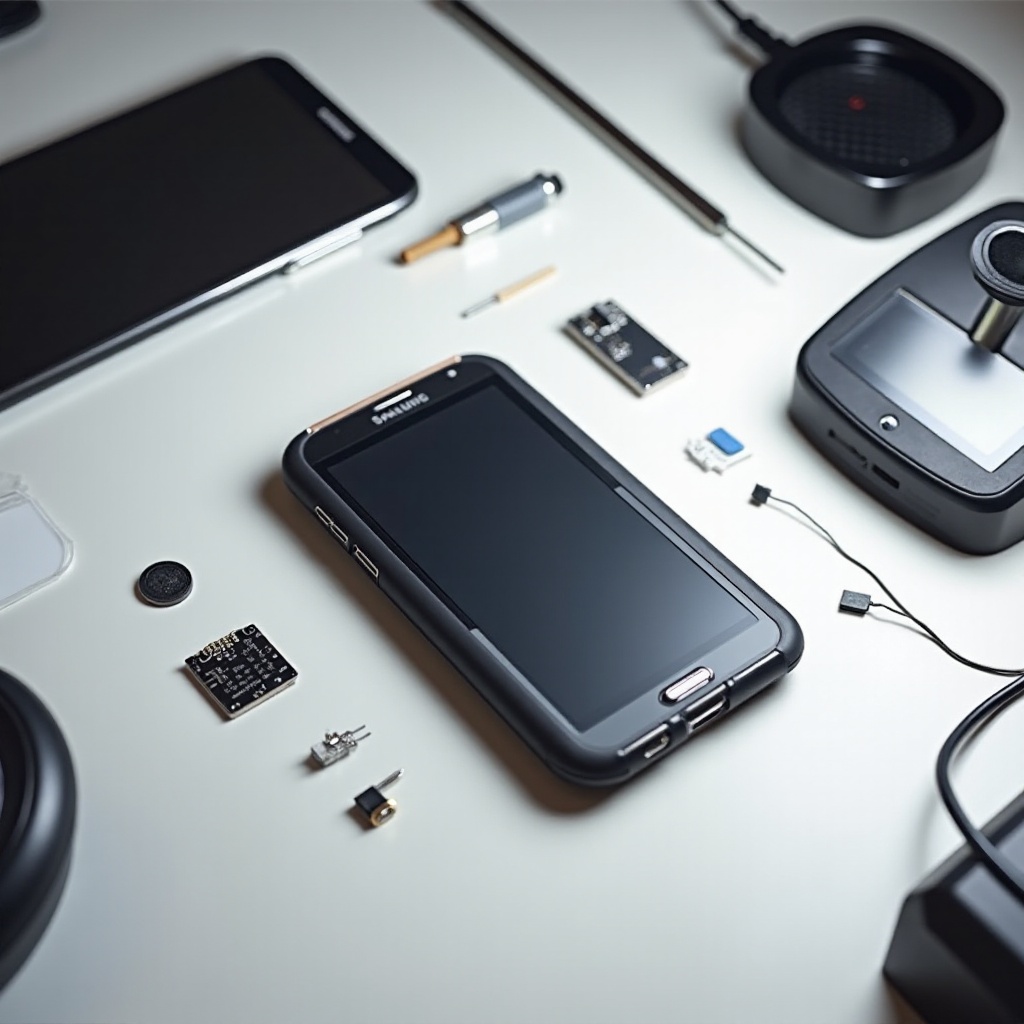
To create your DIY e-ink phone case, gather the following materials:
- Galaxy S24 phone case shell (3D printed or custom-fabricated)
- E-ink display (compatible with microcontroller)
- Microcontroller (e.g., Arduino or similar)
- Lithium-ion battery (suitable size for phone case)
- Battery management system (BMS)
- Connecting wires
- Soldering iron and solder
- Micro USB cable (for programming the microcontroller)
- Double-sided tape or glue
- Small screws and a screwdriver (if assembling parts with screws)
- ESD-safe tweezers
- Heat shrink tubing
- Hot glue gun
These components are essential for building your custom case and ensuring all parts integrate seamlessly.
Designing Your Phone Case
Next, focus on designing your e-ink phone case to fit your Galaxy S24 perfectly.
Choosing the Right Design
Start by sketching your design ideas on paper or using digital tools like Tinkercad or Fusion 360. Consider your phone’s dimensions and how you’ll incorporate the e-ink display. An elegant design will not only please the eye but also house all electrical components neatly.
3D Printing vs. Custom Fabrication
You have two primary options for manufacturing your case. 3D printing provides flexibility, allowing you to print your design layer by layer. Custom fabrication might be better if you have access to professional tools or services. Both methods require precise measurements to ensure a perfect fit around the Galaxy S24 and internal components.
Assembling the Components
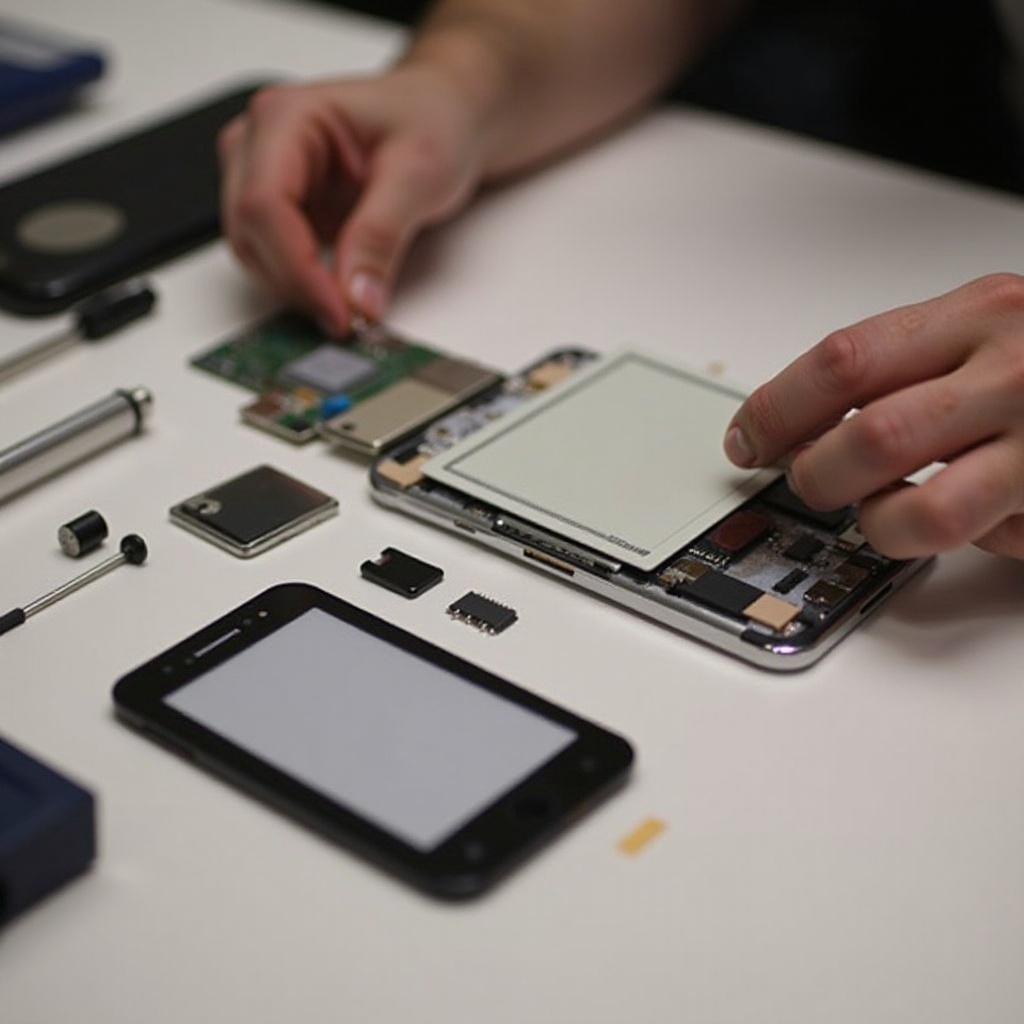
Now that you have your designed case, it’s time to assemble the components for a seamless fit.
Integrating the E-Ink Display
Carefully position your e-ink display in the designated place on the phone case. Use double-sided tape or a small amount of glue to secure it without obstructing the display surface.
Connecting the Microcontroller
The microcontroller serves as the brain of your e-ink display. Connect the microcontroller to the e-ink display using the wiring diagram provided by the display manufacturer. Ensure connections are secure and double-check the pin configuration.
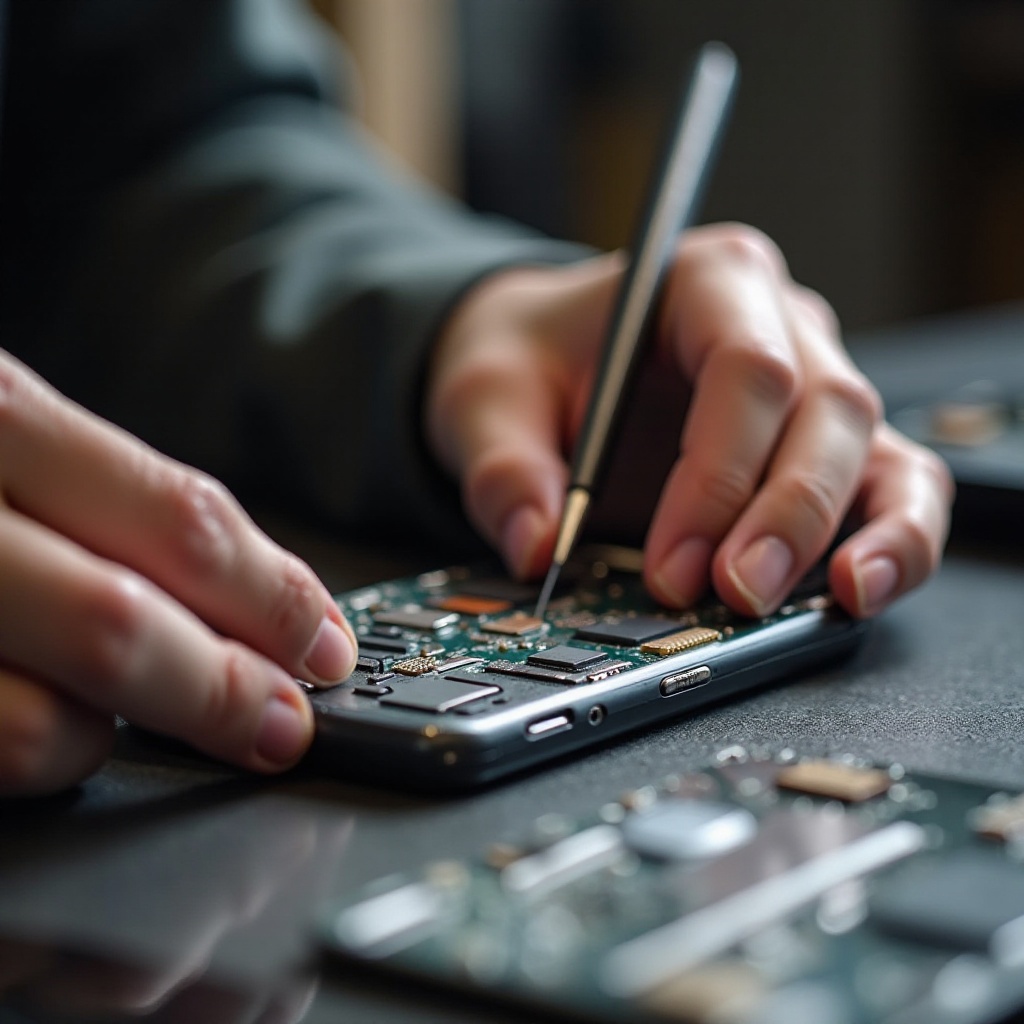
Installing the Battery
Solder the lithium-ion battery to the battery management system (BMS) to ensure safe operation. Connect the BMS output to the microcontroller, securing all components inside the case. Use heat shrink tubing to cover exposed wires for added protection.
Depending on your case design, you might need to use small screws to secure components or additional glue to keep everything in place.
Programming the E-Ink Display
With the hardware assembled, it’s time to bring your phone case to life by programming the e-ink display.
Required Software
You’ll need specific software tools to program your microcontroller. Download and install the Arduino IDE (Integrated Development Environment) on your computer. You’ll also need libraries for your e-ink display and microcontroller, usually provided by their manufacturers.
Writing and Uploading the Code
Write a code that instructs your e-ink display on what to show. This can be simple text, images, or more dynamic content. Upload the completed code to your microcontroller via the Arduino IDE and a micro USB cable. The display should update according to your code once the transfer is complete.
Testing and Troubleshooting
Now that you have programmed your e-ink display, it’s essential to verify that everything works correctly.
Initial Testing Steps
- Power on your e-ink phone case.
- Ensure the display lights up and follows your programmed instructions.
- Check all connections to confirm they are secure.
Common Issues and Solutions
- Display not working: Check power connections and ensure the battery is charged.
- Incorrect display: Verify your code and re-upload if necessary.
- Intermittent operation: Inspect solder joints and re-secure any loose wires.
Customizing Your E-Ink Phone Case
Now that your e-ink phone case is functional, it’s time to add personal touches to make it uniquely yours.
Personal Touches
Consider painting your case in your favorite colors or adding protective screen layers to the e-ink display. Small stickers or vinyl decals can also make your case stand out.
Additional Features
- Interactive Display: Program touch-sensitive elements if the e-ink display supports it.
- Notifications: Integrate display updates for notifications, like new messages or calls.
Conclusion
Creating a DIY e-ink phone case for the Galaxy S24 is a rewarding project that combines creativity and technology. With careful design, assembly, and programming, you can craft a unique and functional phone accessory. Enjoy the fruits of your labor and the compliments from your one-of-a-kind case.
Frequently Asked Questions
How long does the battery last for a DIY e-ink phone case?
Battery life depends on usage and the capacity of the battery used. Typically, a fully charged lithium-ion battery in this setup can last several days.
Can I use a different microcontroller for this project?
Yes, as long as the microcontroller is compatible with your e-ink display and you can modify the code accordingly.
What should I do if my e-ink display is not working?
First, check all connections and ensure the battery is charged. Next, review your code for errors. Double-check the wiring based on the e-ink display’s datasheet to ensure all pins are connected correctly.